


I have gotten several e-mails about the painted tile in my daughter's bathroom so I thought I would give some details about the process. When we bought our house, there was so much work that needed to be done that the thought and cost of gutting the two existing bathrooms was more than we could handle. Fortunately, our architect, Ashli Slawter, suggested some simple and inexpensive ways to update the bathrooms without having to gut them. One of her suggestions was to paint the gray and green tile in my daughter's bathroom.
Once I convinced my painter to tackle this project, we were in business. The first thing they did was to lightly sand the tile. Next they thoroughly cleaned the tile. The tile was then sprayed with a Sherwin Williams adhesions primer like this one.

This is how the bathroom looks now.

Here is a picture of how smooth the paint looks after being sprayed on.

This is a picture of a spot on the wall where the painting is not perfect. You have to look very closely to notice.

Here is a close up of the tile that was previously two different colors. Above the border, the tile was gray and below the border the tile was green. You can't tell now, right?

I was holding up the mirror to make sure it was going to fit and I dropped the corner of it and it scrapped a bit of the paint off the wall. The mirror was heavy and hit the wall pretty hard. That is the only place where the paint has chipped.


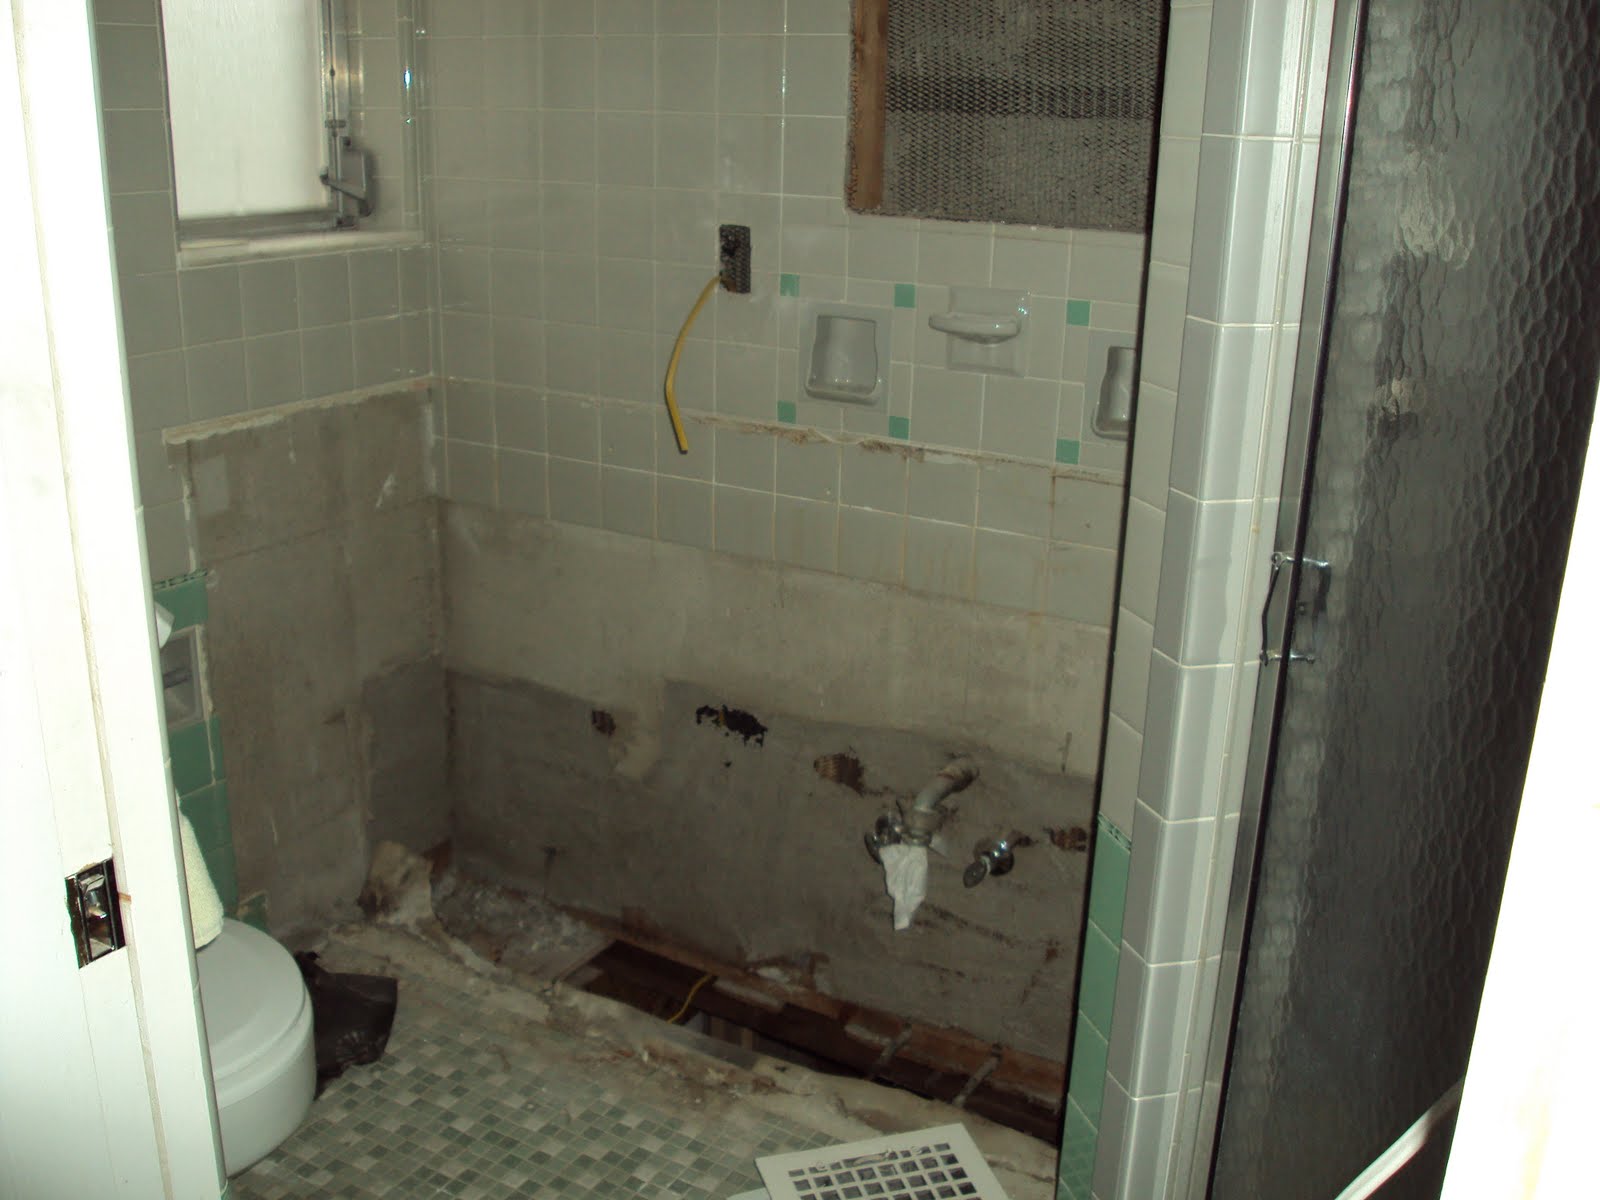
Here is a lovely picture of the bathroom all torn up and waiting to be put back together.
And one more time, this is how the bathroom looks now.
It is not recommended that you paint tile that gets wet repeatedly. Only the tile walls in my daughter's bathroom were painted. The gray tile in the shower was left alone.
I am certainly not an expert on painting tile, but hopefully you found this information helpful.
Lastly, as a little reward for my faithful followers, I will be announcing a great giveaway on Monday.
Be sure to stop by on Monday for all the details. Enjoy your weekend!
0 comments:
Post a Comment