Showing posts with label Tips and Tricks Tuesday. Show all posts

Tuesday, November 16, 2010

Tips and Tricks Tuesday #18 - Savvy Salvage Shopping Tips

Posted by MAKMU ta On Tuesday, November 16, 2010


A few weeks ago, a blogging buddy, Tammy @ Tattered & Timeless, e-mailed to let me know she would be making her very first trip to Cline's Country Antiques. 


She asked if I would be interested in showing her "how to do the place justice."

Being one who likes to lend a helping hand–when possible–and never wanting to turn down an opportunity to go junkin', I said I would tag along.


As you can see from these images, Cline's Antiques offers more than your typical "antiques" shopping experience.

If you've been following my adventures here at the cottage, you know that this just happens to be my favorite junkin' spot.

And–for the past fifteen years–it has also been a place where the Yankee and I have found numerous diamonds in the rough.

Being somewhat of a veteran salvage shopper, I thought I would pass on to Tammy some tips on how to make her visit to Cline's safer, more productive, and more enjoyable. 

And now, I'll share them with you, my other junk-lovin' buddies! ; )


If you intend to do more than browse from the sidelines–at a place like Cline's Antiques–wearing a comfortable, but sturdy pair of shoes is a must.

These thick-soled boots are the ones I wear for this type of adventure, no matter the season.

Walking in, around, and on top of mounds of salvage can present a hazard, if you're not properly protected.


Do you like rusty, crusty "stuff"?  Me too!

And a good, thick pair of gloves come in handy when plundering through piles of it–to find that perfect piece or two.

Wearing clothes in layers–that can be removed, if need be–and ones that you don't mind getting dirty, and possibly even torn, is also advised.


In addition, I like to carry a small backpack along, with a few other necessities,
like...


a bright flashlight, for searching out all those treasures tucked away in barns and buildings...


a small notepad and pen, for jotting down where the larger pieces are–that I want to "think about"...


and a little magnifying glass, for getting a closer look at maker's marks on smalls.


These vintage 1920s beekeeping pamphlets were a reminder to me to caution you to look out for bees and wasps–something you probably wouldn't be in-Cline-d to think about as you're plundering through piles of junk.

And speaking of smalls...

a clean, empty plastic "mud" bucket makes a terrific carrier for tiny treasures, in a place like Cline's.


And this is a must-have!

Okay, I know your laughing now.

But you won't be if you find yourself here...


without it!


I like to carry a travel pack of baby wipes along, as well, since there's no access to clean running water.


Make sure to bring your favorite beverage of choice...


something to snack on–like the wholesome goodness I pluck from my own fruit trees...

and plenty of cash, for all the goodies you're sure to find.

Then you'll be totally prepared to spend the whole day at Cline's Country Antiques,
 or any other salvage yard, digging for treasure.


Tuesday, October 26, 2010

Tips and Tricks Tuesday #16 - Change is on the Horizon

Posted by MAKMU ta On Tuesday, October 26, 2010


Change is coming to the Brambleberry Cottage!  Stay tuned for the details.


Welcome to WHAT WOULD HAVE BEEN the sixteenth Tips & Tricks Tuesday linky party here at the Brambleberry Cottage.

Before I address that huge question mark I'm sure is flashing above your head, I want to show off the talent of last week's participants.


If you're anything like me, you have tons of old sweaters that you're starting to sift through, as the weather gets colder.

I've been pondering whether I should just get rid of half of the ones I own.

Last week, Karly @ Jellybean Junkyard gave us a great tutorial on how to make a stylish cowl out of an old sweater.

Thanks, Karly!  Now I know what to do with at least some of those castoffs.


How often have you received a gift and just knew it wasn't going to work?


Michelle @ Dream Home DIY decided her gifted "HOME" sign just needed a face-lift.

Now it joins the many other transformations she and Justin have performed to make their starter home their dream home.  ;)


I think it would have driven me batty to have punched out each of these little bats, pushed a pin through each of them, and then to have glued them, one by one, to a book page.

Thank goodness, Gail @ CAN'T STOP MAKING THINGS had enough patience to do so. 

The results were incredible!


At first glance, you might think that this spiral is made from a piece of jewelry that has been twisted.

It's actually an amazing embroidery technique that Zeshuregi @ Creative Mind shared last week.


You'll want to visit each of these talented tipsters to get the full scoop on their creations.


And now, I'll address the changes coming to the cottage.

I'm in the midst of a BIG project that I'll be sharing with you very soon.

Since I'm already spread so thin, the wind blows right through me (huh, don't I wish!), I'm reducing the number of parties I host here at the Brambleberry Cottage to just one.

Time Travel Thursday will be the only weekly party that continues. 

Ask the Yankee and Tips and Tricks Tuesday will no longer be linky parties hosted here.

However, if you get stuck in a project, the Yankee will still gladly assist.

And, whenever I have a handy dandy tip or trick to share, I'll do so on a Tuesday night.

Be sure to come back tomorrow night for the Time Travel Thursday linky party, and share your awesome talent with the rest of Blogland.

See ya then!

Tuesday, October 19, 2010

Tips and Tricks Tuesday #15 - How to Tarnish Silver

Posted by MAKMU ta On Tuesday, October 19, 2010


BE SURE TO CHECK OUT THE DETAILS FOR ALL THREE LINKY PARTIES HERE AT THE COTTAGE!


Welcome to the fifteenth Tips & Tricks Tuesday linky party here at the Brambleberry Cottage.

For those of you who are already missing summer fun in the sun...


take a good long look at the beautiful blue water in that swimming pool.

OK...that's long enough!

Now, focus your attention on that fantastic looking director's chair that was given new life by Deanne @ Five Brothers One Sister.

Want to know how to make an inexpensive stencil–like the one Deanne used on this project?  Then hop on over to her place for a great tutorial.


If there's anything this world could use more of, it's gratitude.

Karly @ Jellybean Junkyard created this wonderful board of thanksgiving for her family to remind them how important it is to give thanks.

And now, for another Brambleberry Cottage tip:


Nope, my tip is not a lesson on how to boil eggs to perfection.

Although, it does involve boiled eggs!


Actually, to be more precise, it involves the yolks of boiled eggs.


You see; I happen to really like the wonderful patina that tarnish imparts to older metal objects.

Sometimes the things I collect–like the vintage trophy cup you see above–have just the right amount of that terrific timeworn look I prefer.

Other times, there's just not as much as I would like–as is the case for the dinner bell beside the trophy.

So what's a gal to do?

Why find a way to create tarnish, of course.


It just so happens, sulfur is a great tarnishing agent.  And that also just happens to be an abundant element found in the yolks of eggs.

Since I greatly prefer natural means, over the use of synthetic–and ususally dangerous–chemicals, I decided to give this method a try.

If you enlarge the image above, and compare it to the earlier one, you will notice that the surface of the bell is indeed beginning to darken.

So far, these items have been sealed in that plastic bag for about six hours.  

By the way, any kind of container will do for this project, as long as it's airtight.  And make sure the yolks are warm when you place them in the container. 

Since I want to see if it will tarnish even further, I'm leaving everything, just as you see it, overnight. 

I'll report my findings to you tomorrow.

Tuesday, October 12, 2010

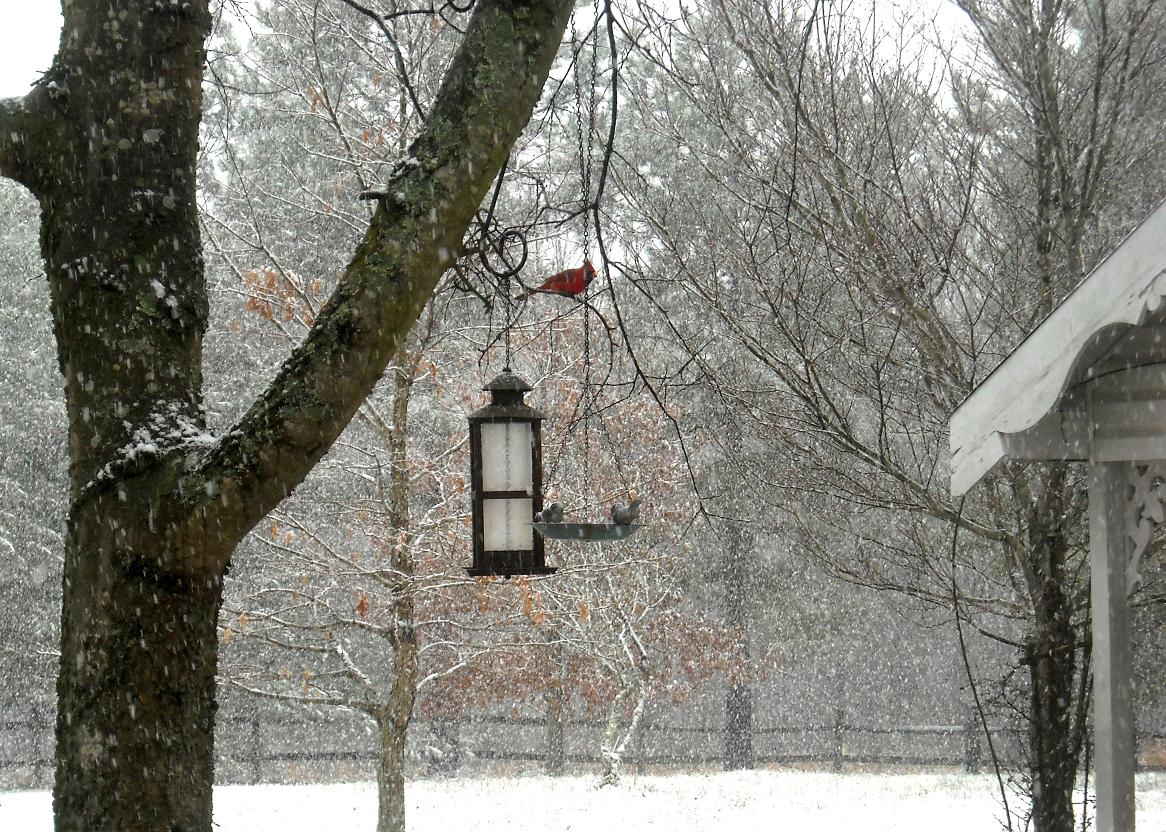
Tips and Tricks Tuesday #14 - Remembering Our Feathered Friends

Posted by MAKMU ta On Tuesday, October 12, 2010


Fall is in the air—at least in some parts of the country.

But it's still in the upper 80s during the day, here in my neck of the woods.

Can you believe it...upper 80s, and it's the middle of October?!


It's hard for me to even think of fall decorating right now...

because of this intense heat.

But a certain crafty lady is right on top of things.

Lindy @ Cottage Hill made these huge acorns from a recent thrift store find, and you won't believe what she used for the base of her creations!


Seeing Lindy's giant acorns made me think of all the squirrel activity going on around the farm these days.

They've been quite busy scampering about, collecting scores of acorns and storing them for winter.

But the birds around here rely on my help for winter sustenance...

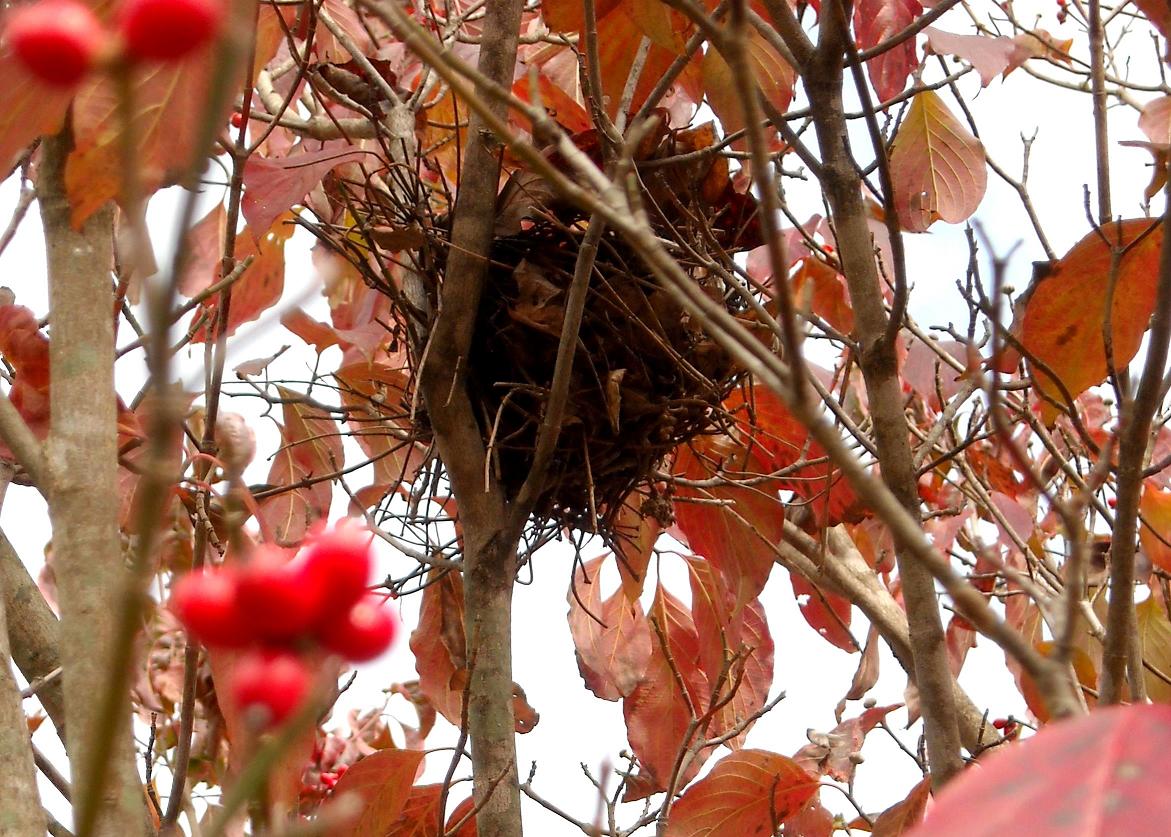
well, except for those who "wisely" built their homes, this past spring, near a natural food source—like the dogwood in my front yard, now filled with bright red berries.


Others know a good thing...

and want to be first in line for the freebies.

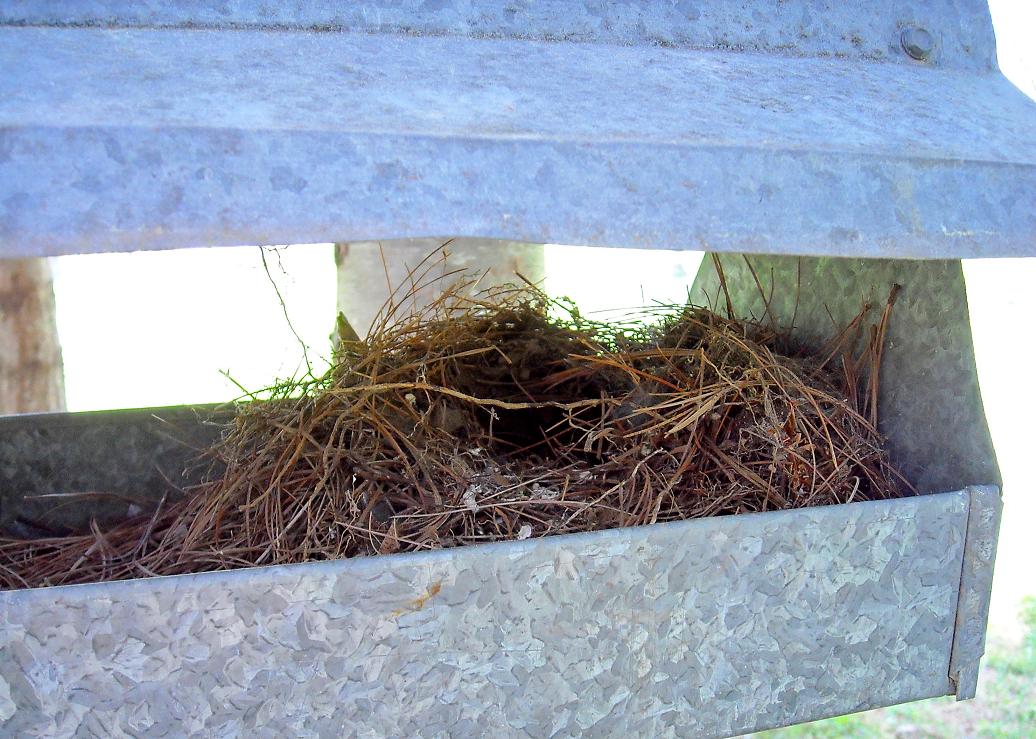
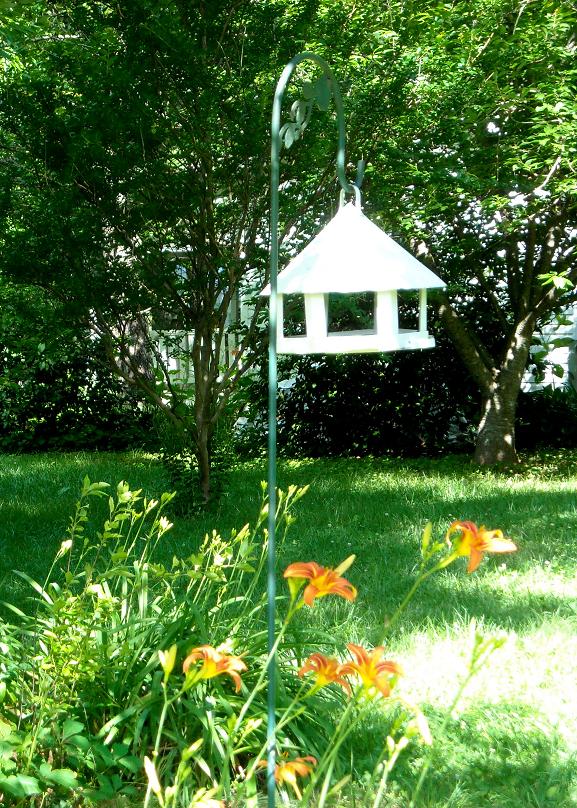
The bird that built this nest—in the feeder beneath the pines in my side yard—determined it was large enough to live in, as well as dine in.


And though I choose to feed the birds around my cottage year-round, I know that come spring, the abundant insect population will more than offset the need for an increase in food—for the numerous new additions to the flocks.

It was such fun to watch Momma Robin dutifully feed her babies this year, after she had had her fill from the feeders.


In fact, I have feeders set up thoughout my yard for the birds to freely come and feast.

They get their little bellies filled, and I, in return, am rewarded by their beauty and with their melodious songs.


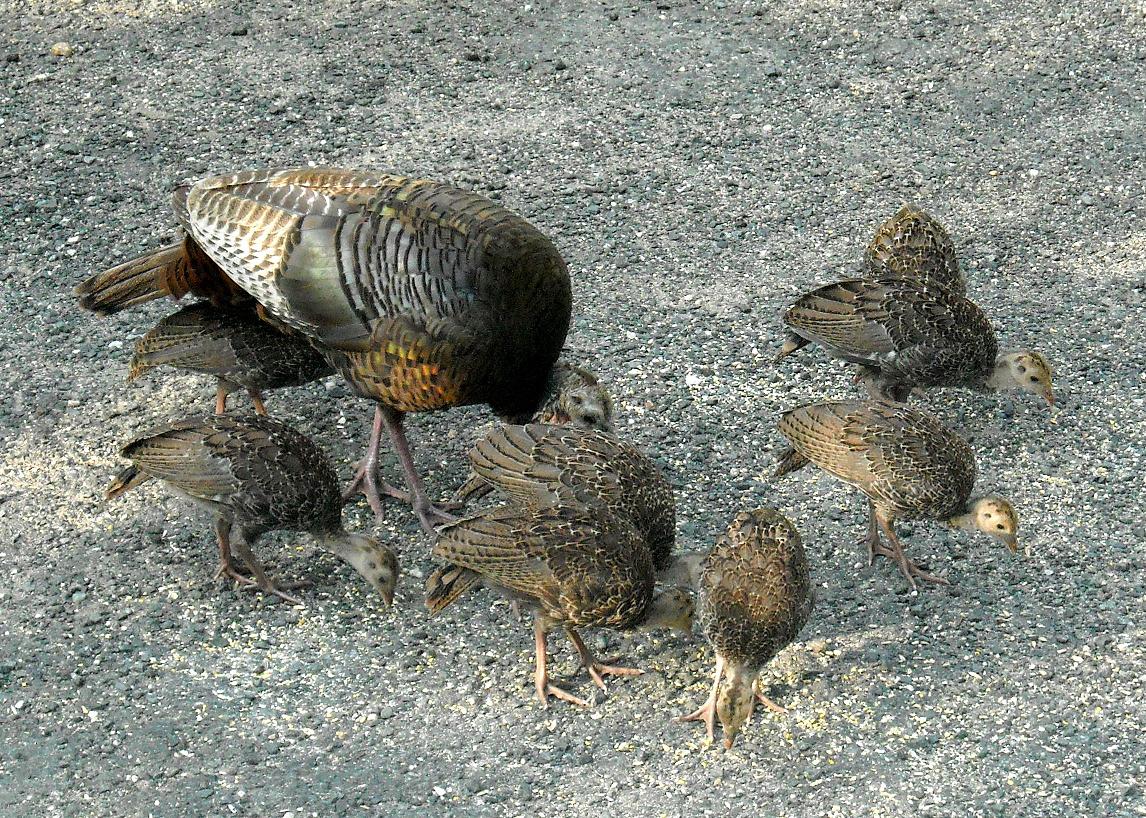
Even wild birds—like this momma turkey and her little ones—make their way to a free food source on a regular basis, once they find it.

So if you're wondering about a good time to start feeding the birds near you, late summer or early fall is a great time to start.

It presents plenty of time for them to find the food and establish a habit of feeding at your feeders before the onset of winter—when they will most need your help.


Be sure to offer fresh, clean water, as well.


Then, no matter the weather, you'll have a bevy of beautiful feathered friends to enjoy.

Tuesday, October 5, 2010

Tips and Tricks Tuesday #13 - How to Dry Hydrangeas

Posted by MAKMU ta On Tuesday, October 05, 2010


BE SURE TO CHECK OUT THE DETAILS FOR ALL THREE LINKY PARTIES HERE AT THE COTTAGE!


Welcome to the thirteenth Tips & Tricks Tuesday linky party here at the Brambleberry Cottage.

Are you ready to see some totally terrific tips?


Then you must go visit Sandra @ Stone Creek Market for festive fall inspiration!


And "chocolate and coffee lovers"–like me–can get their taste buds tickled, with the delectable goodness created from a recipe shared by Jocelyn @ Inside BruCrew Life.


With such an adorable model wearing your creation, anything you make has to look exceptional!

Not only did Jessica @ Craftily Ever After demonstrate her crafting skills with this too-cute headband...


but the reuse of materials for the fabulous flower on her frame project was ingenious.


The Yankee has been after me for some time now to teach him how to sew–only fair, since he taught me how to use power tools.  ; )

And I found the perfect first-timer project from David @ Sam Hober Custom Made Neckties.

Now for this week's Brambleberry Cottage Tip:

There is no shortage of online tips for drying hydrangea blooms.  The Internet is loaded with numerous tried-and-true techniques.

Whether you choose bundling to air dry, the water evaporation method, or silica gel, you're sure to find a method that meets your needs.

I've used the first two with great success–at least where the blooms are concerned.

However, I've encountered a recurring problem with the stems drying in shapes that have made them difficult to use as I intended.


Too many times, I've ended up with stems so severely bent and bowed that my entire arrangement took on a rather deformed appearance.

Not what I was after! 


I've learned that cutting the stems extra long and keeping them bound tightly in several places, while they dry, produces the straight stems I so desire for my projects.


I begin by arranging the heads in a staggered fashion–a somewhat mounded shape–leaving the stems loose closer to the tops.


This aids in drying and builds into the drying process the overall shape I desire for the end result.


Note in the image above, left unbound, the lower parts of the stems curl and bend naturally as they shrink and dry.

But, by keeping the stems bound tightly together–in strategic places–once the hydrangeas are dry, I'll be able to remove the binding, cut off the lower portions and be blessed with nice straight stems for my flower arrangements.

Related Posts Plugin for WordPress, Blogger...