Showing posts with label homekeeping. Show all posts

Thursday, June 9, 2011

Homekeeping

Posted by MAKMU ta On Thursday, June 09, 2011

The Three P's
Preserving
Propagating
Polishing


While getting a few things done, off my list of things to do - I realized some began with the same letter.

Preserving.


I have shared with you some of the bouquets I have made from the Hydrangea flowers I picked from my Mother-in-law's bush.


It is a large, very old bush and full of blooms. I have been invited to pick more! Yes, Thank you Mama!


Hydrangea flowers dry easily. The best way to dry them is to allow them to naturally begin the process on the bush. You should wait until late July or August. They should begin to feel papery and will begin changing to a pink or green in their color.


I wanted to begin the process early and to preserve some of the beauty of the blue flowers. I used silica crystals you can purchase at craft stores - like Michaels or Hobby Lobby.


I cut their stem to about an inch from the base of the blooms.
I found two plastic containers just big enough to fit the blooms without crushing. Holding the bloom upside down I began to slowly pour in the crystals - occasionally shaking the bloom to get the crystals between the petals. 


Once completely covered I covered the the plastic dish (disposable) with its lid and placed it in a cool dark spot for four days. Once that time was up I gently removed the bloom from the crystals to reveal these beautifully preserved blooms. I will do a few more - 

the two roses in the middle came from my daughter's birthday bouquet

I can get two to three out of the cannister - and the crystals are reusable.

These roses were some of my David Austin roses I rescued from the Japanese Beetle. They're blooms started to fade and dry fast - I love the deep rose color that resulted from one


Propagating


I truly would love to have a natural hedge of Hydrangea bushes. I picked a few stems - 4 to 5 inches long - stems that had not produced blooms. I removed all but two top leaves and cut the tips off the lower two - four leaves all together. I dipped the stem into a rooting hormone and placed it into moistened seed starting soil. 


I covered the pots with a plastic bag and remoisten the soil when the top looks dry. It should develop roots in 2 to 4 weeks. I will keep these potted and in a save location until the Fall when I will transplant them into the garden.

Polishing

Well, I was surely ambitious! I shared with you some of the silver I was intending to polish - I liked the look of the tarnished patina and considered leaving some as they were. 


Well, I really wanted to polish this three tiered dish and this pitcher - just to see how well they would come clean. Many of you shared your favorite silver polish - I appreciate your input! I found a brand - not named in my Home Comforts book - told you I lived out - way out - in a rural community - 


I will have to find more silver polish - some of the tarnish came off - but this is going to need some more work.


These are some of the things I have been accomplishing this week - How about you!? Have you started your summer vacation - or are you busy as a bee like me?

I am sharing this post with these Delightsome blog parties:

Transformation and Treasures @ The Pink Postcard

Friday Pretties @ I Love Pretty Little Things

Home Sweet Home @ The Charm of Home 

Show and Tell Friday @ My Romantic Home


Feathered Nest Friday @ French Country Cottage

Fridays Unfold @ Stuff and Nonsense

Inspiration Friday @ The Picket Fence


Wishing you a very Delightsome day,


Thursday, June 2, 2011

Homekeeping

Posted by MAKMU ta On Thursday, June 02, 2011

Tarnish


The tarnish that eventually forms on all silver is silver sulfide.
Cheryl Mendelson advises in her book, Home Comforts - The Art and Science of Keeping Home, 'to keep silver bright, use it.'


I am creating pockets of projects for myself.
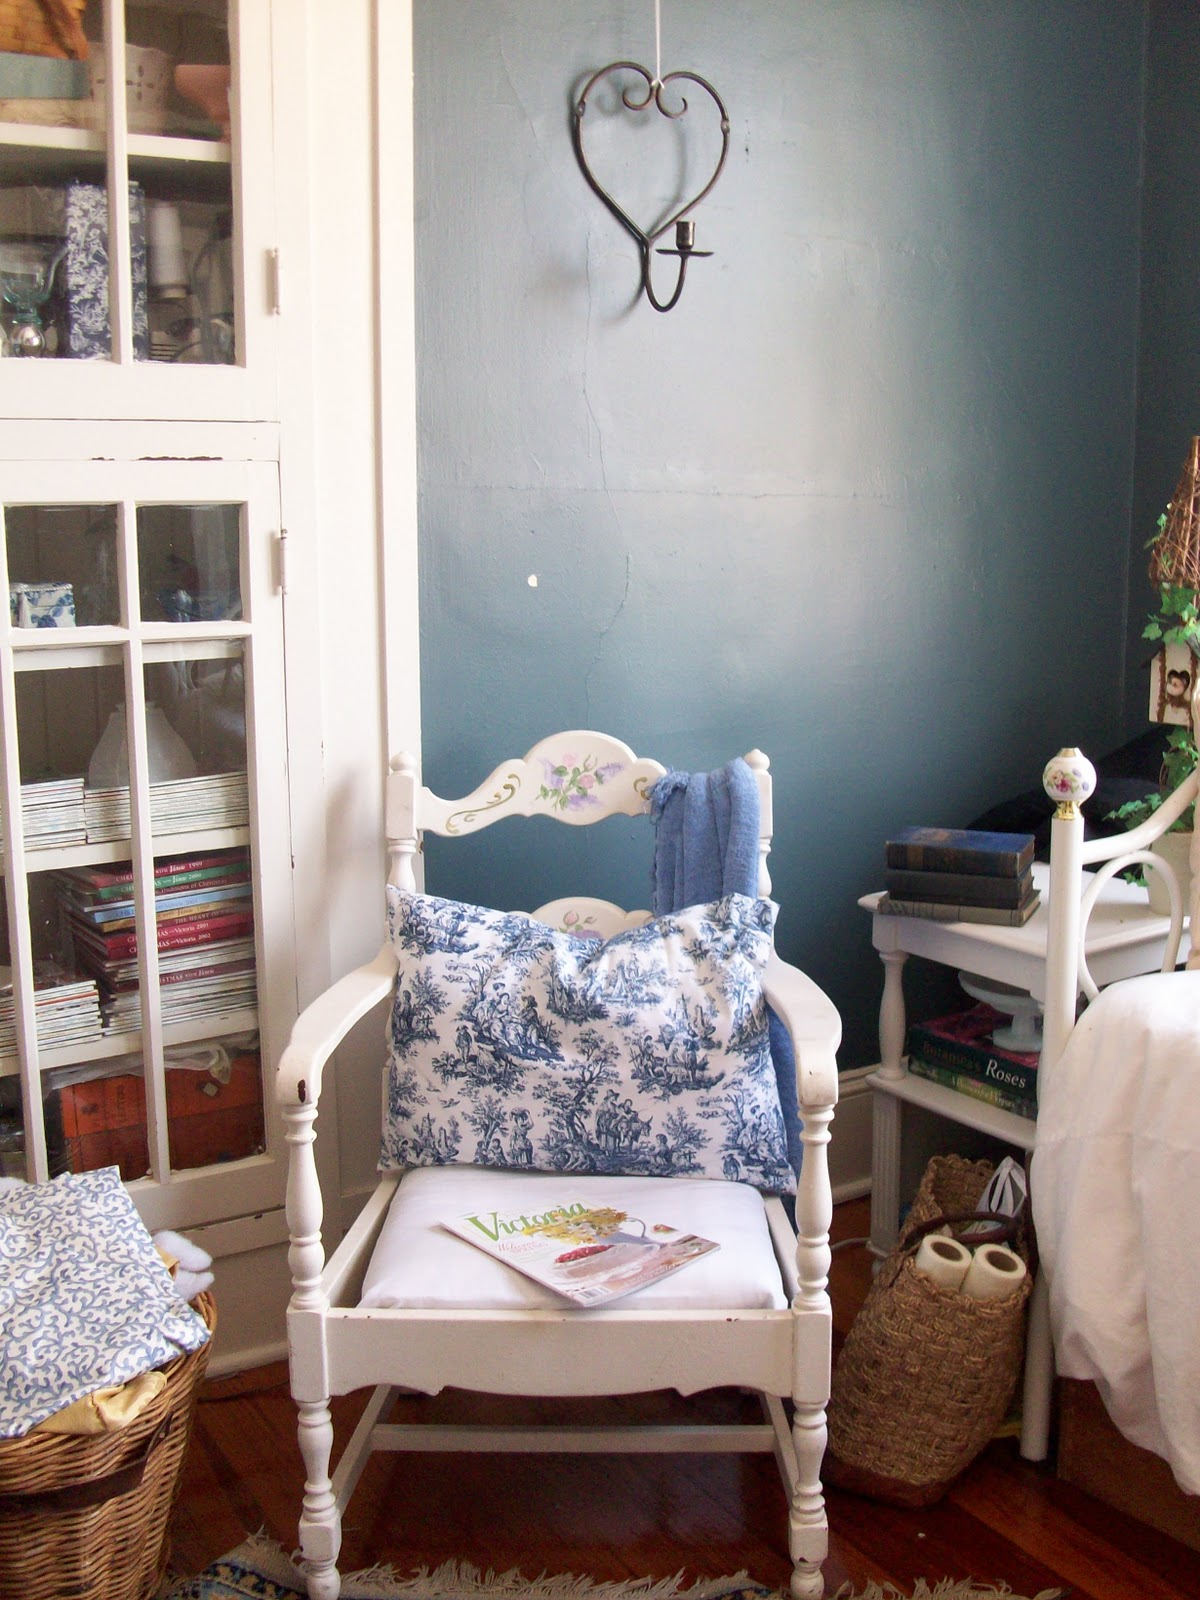
In my dining room I have created a chair hospital.
This will take a while, so I will share more later.


I am shopping today and on my list will be silver polish.
Cheryl lists polishes recommended by the Society of American Silversmiths
3M Tarni-Shield Silver Polish
Goddard's Long Shine Silver Polish
Wright's Silver Polish
Twinkle Silver Polish and
Hagerty Silversmith's Polish


In the rural area which I live I hope to find a good polish. 
I may have to wait until I go to 'the big city'.


While gathering my silver pieces in their various stages of tarnish, I was struck by their beauty in this patina.


I love silver all polished, shiny and bright.
But, there's just something about the character
of tarnish patina.

I am really excited about this piece. I found it at a garage sale.


The owner told me, that it was silver and would need polishing.
 It was five dollars. Happily I answered, 
"I don't mind".


I've set up quite the tasks for myself - Pre-Summer
housekeeping.


Interesting bits of information:
"Humidity and heat hasten tarnish"
"substances other than sulfer will harm silver
chlorine bleach, acids and acidic foods."
"Salt and sea air will also cause pitting. If you
have a silver salt cellar, be sure to empty it immediately
following use unless it is lined with glass or some other material 
that will not react with salt".
"Wash silver with mild detergent in hot water. Rinse it with
very hot water and dry it thoroughly with a soft cloth. 
Never let it air dry".


"It is still true that silver does not belong in the dishwasher".
"You should not need to polish silver often - once or twice a
year perhaps, but the period varies greatly depending upon
use and conditions of storage".
"Chemically treated products....soft flannel cloths, bags, or drawer
liners that have been treated with silver nitrate or other
chemicals should be used for storing silver".
(Home Comforts) 

I have a hunch these might be pewter - I need to verify before attempting to polish

If you've never seen Cheryl Mendelson's book, I highly 
recommend it - it is a comprehensive homekeeping


manual - well written. I am placing this on my Christmas
list for my newly wed daughter. 


Is it silver or pewter?
Sterling Silver will most likely have the stamp "925" 
or "Ster". It is 925 parts pure siver and 75 parts 
copper.  Silver will have a smoother brighter sheen.
Pewter is a soft, silverish metal with less luster 
than silver. Pewter will not need polishing if it is used.
To keep pewter bright, wash in hot, sudsy water. You 
can use ammonia. Dry thoroughly with a soft cloth.
Pewter is sensitive to acids. Oak and unseasoned wood
contain acids that can cause pewter to deteriorate.
(Home Comforts)

(pewters.net)

I am wondering if some of my pieces above are pewter?
I am going to check with my knowledgeable neighbor
before I embark on my polishing.


I hope you're enjoying your day, I do appreciate you stopping by

I am sharing this post with


I am sharing this post with


Transformation and Treasures @ The Pink Postcard


Friday Pretties @ I Love Pretty Little Things


Home Sweet Home @ The Charm of Home 


Show and Tell Friday @ My Romantic Home


Feathered Nest Friday @ French Country Cottage

Fridays Unfold @ Stuff and Nonsense

Inspiration Friday @ The Picket Fence


Wishing you a very delightsome day,


Sunday, March 13, 2011

My Cottage Life

Posted by MAKMU ta On Sunday, March 13, 2011

Celebrating 
Homekeeping 
Nesting

I shared earlier how and why I put a chicken in my kitchen.

I believe our homes are a reflection of ourselves.
When we know guests are to arrive we busy ourselves
with dusting and straightening - to get your home just right.


You want your guests to feel at home - but as they look around
to see what you love about your home - to see what you've
placed in your home to make it especially yours.


Someone I know stated that she doesn't like housekeeping,
she calls it 'domestic work'.
I admit, I feel my home grows dirt - but I look at the walls, the 


trim, the windows, the wood floors - I look at every nook


and cranny and am in awe - this is mine. This home is mine


to care for and to decorate.


I love to go about and to run my finger along those things
that I call treasures - those that hold special memory or 
are dear to my heart.


Homekeeping and/or nesting, to me, is one of those things we
have the privilege to do to make our home a haven for ourselves
and for our families.


I admit, there are times I seem to have precious little time to do
the necessary chores - I would give my home what my grandmother 
would call, 'a lick and a promise'.


Then I come back to the straightening, the dusting, the polishing
the shining and the vacuuming....bringing back an air of cleanliness
and order - I keep it as comfortable as possible - but, I also 
want to keep it as lovely as possible.


With this comes the ability to change decor as the season comes
or as a whim lights in my heart.
Today, I am celebrating my ability to keep my home for
myself, my family and my friends.
I am also sharing with you the recipe for the
Chocolate Cake


I made for my daughter's birthday.


Cake Mix Doctor
Ever So Moist Chocolate Cake
Serves: 16
Preparation time: 10 minutes
Baking time: 28 to 32 minutes
Assembly time: 10 minutes

Solid vegetable shortening for greasing the pans
Flour for dusting the pans
1 package (18.25 ounces) devil's food cake mix with pudding
1 cup sour cream
3/4 cup water
1/2 cup vegetable oil
3 large eggs
1 teaspoon pure  vanilla extract

1. Place a rack in the center of the oven and preheat the oven to 350 degrees F. Generously grease two 9-inch round cake pans with solid vegetable shortening, then dust with flour. Shake out the excess flour. Set the pans aside.
2. Place the cake mix, sour cream, water, oil, eggs, and vanilla in a large mixing bowl. Blend with an electric mixer on low speed for 1 minute. Stop the machine and scrape down the sides of the bowl with a rubber spatula. Increase the mixer speed to medium and beat 2 minutes more, scraping down the sides again if needed. The batter should look well combined. Divide the batter between the prepared pans, smoothing it out with the rubber spatula. Place the pans in the oven side by side.
3. Bake the cakes until they spring back when lightly pressed with your finger, 28 to 32 minutes. Remove the pans from the oven and place them on wire racks to cool for 10 minutes. Run a knife around the edge of each layer and invert each onto a rack, then invert again onto another rack so that the cakes are right side up. Allow to cool completely, 30 minutes more.


Perfect Chocolate Frosting 

1 cup semi-sweet chocolate chips
1/2 cup half-n-half
1 cup butter cut into tablespoons (2 sticks)
2 1/2 cups  confectioner's sugar sifted
Place a large mixing bowl full of ice in the kitchen sink.
Place the chocolate chips, half and half, and butter in a medium-size saucepan over medium heat.
Stir the mixture constantly until the chips and butter melt and the mixture thickens, 5 to 6 minutes. Do not let it boil.
Remove the pan from the heat.
Whisk the confectioners' sugar into the mixture until it becomes smooth.
Then, place the saucepan in the bowl of ice, taking special care not to let any of the ice water spill into the saucepan.
Beat the mixture with an electric mixer set on low speed until the frosting thickens and is satiny and fudgelike in appearance, 4 to 5 minutes.
Spread onto the cake of your choice. The frosting will stiffen up as it sets. If it gets too hard to spread, simply place the saucepan back over low heat and stir until it reaches spreading consistency.


Thank you for stopping by,

I am sharing this post with

Cielo's 


Related Posts Plugin for WordPress, Blogger...