Showing posts with label master bedroom. Show all posts

Tuesday, May 10, 2011

New Headboard

Posted by MAKMU ta On Tuesday, May 10, 2011

A finally used my $200 Joss and Main credit, which I won from one of my all time favorite bloggers, Seleta.  I was waiting for the perfect item to catch my eye.

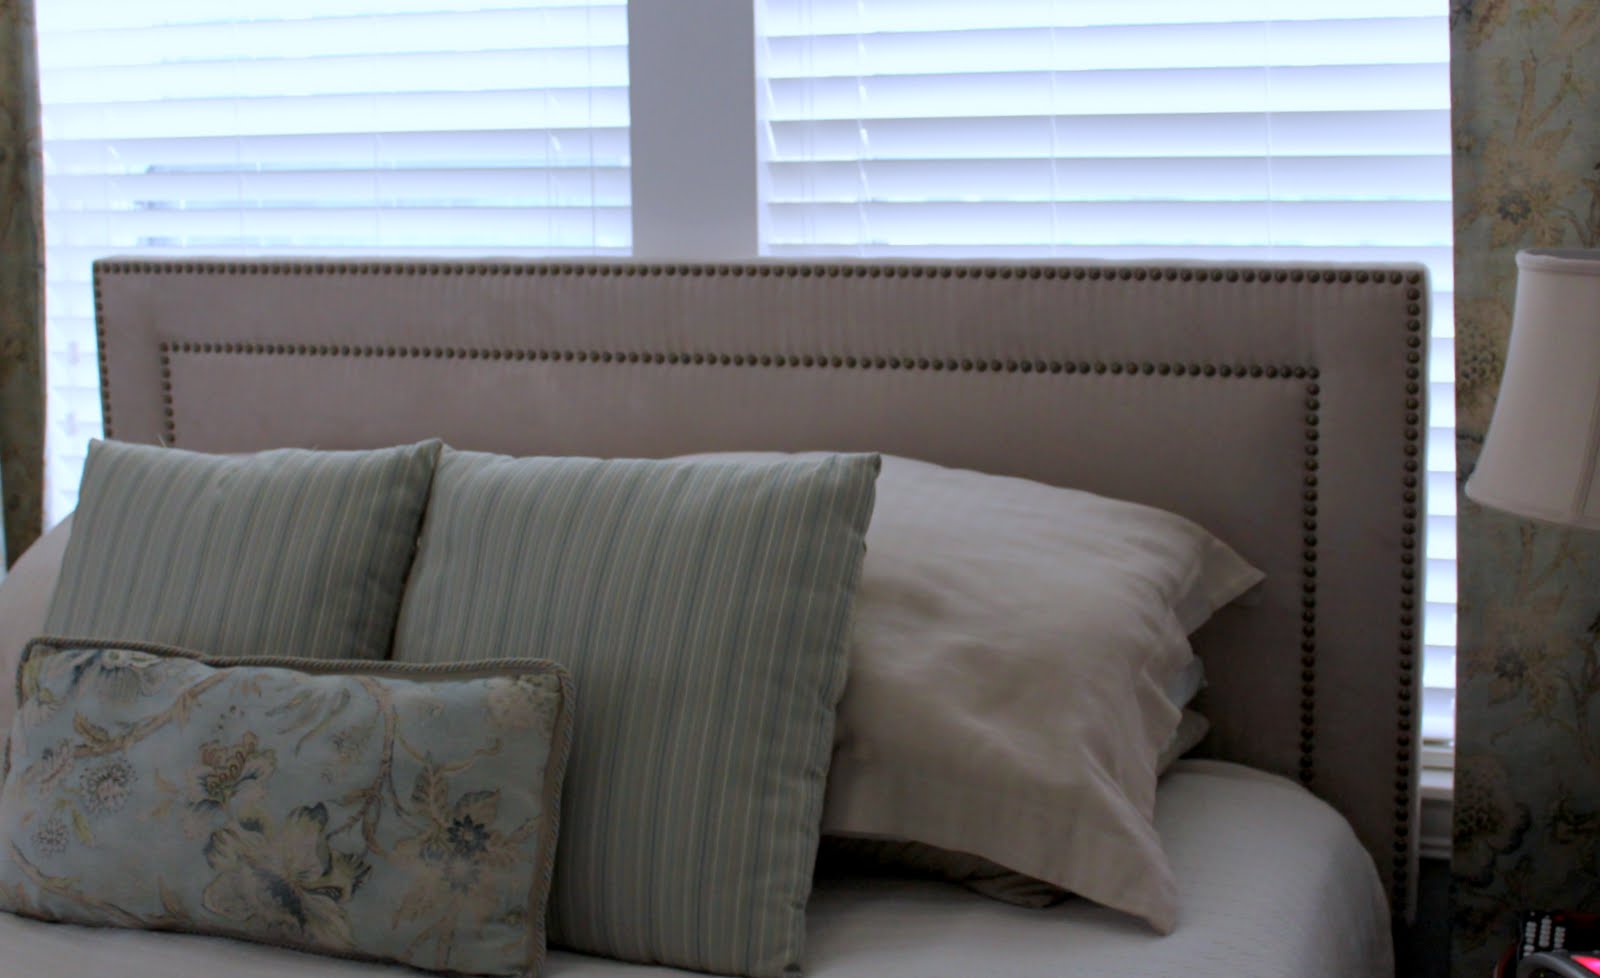
This headboard had me at $258!  I had to chip in an extra $73 for the difference and shipping, but not too bad for a queen size professionally upholstered headboard.


I like the clean lines of this headboard and the nailhead trim finishes it off nicely.  I had contemplated DIYing one similar to this, but I knew I would never get those nail heads completely straight.


My mom and and I (with my husbands's assistance) made our previous headboard (below) a few years ago.  We cut the shape from MDF, covered it with batting and then fabric.  I ordered 10 yards of nailhead trim on-line,  and we added it to the edge.  This trim is very easy to work with and gives the look of real nail head trim, but again, it's difficult to keep it completely straight.  I liked (not loved) this headboard four years ago when we made it, but it was time for a change.


Due to my lack of patience, I disassembled the headboard we had on our bed and I put the new one up all by myself last Thursday evening.  My husband had to go to my son's baseball game and said he would do it over the weekend, but I just couldn't wait that long.  Seriously, what is wrong with me?


Our bedroom has a very calming vibe to it, but I really want to add an unexpected punch of color in there.  Not sure where or with what, but my wheels are turning.  Any ideas?

I am sharing with:
Savvy Southern Style

Sunday, April 24, 2011

Master Bedroom

Posted by MAKMU ta On Sunday, April 24, 2011

She Has Patina

When we moved to our home, we were not truly prepared
for all the work that goes into an older home.
Fortunately, the house was well cared for -
there had only been four previous owners.
We estimate the house to be 97 years old.
Can't wait to celebrate her 100th!

Our home was a blank slate - Everything - I mean
everything that could be painted had been painted white.
The wooden floors were in good shape.

We began renovating and decorating in the dining room, 
the family room and the green room.

The walls are plaster, so my husband spent countless hours
sanding, filling in and replastering these walls.
We dubbed our home 'The Dust Bowl'.


Once done, we were quite pleased, but not so eager to begin
the whole process upstairs.


We had a repairman come to fix damage from a 
leak from the AC unit recently installed in the attic.
He complemented on our progress and we discussed
the need to repair the cracks in the walls in the upstairs rooms. 
"That's just the patina of older homes," he replied.

My husband and I looked at each other - and smiled.

Patina...
That became our favorite word to describe the 
idiosyncrasies of our home.
Our Master Bedroom was the last room in the upstairs
to be painted. With the thought of 'patina' in my 
thought processes, I wanted to create an 'old world' feel.
I thought I'd use the cracks to my advantage. 


Searching the paint colors, I loved the color of Valspar's
Bee Pollen, so I chose that and corresponding colors
- a lighter cream and
 - a deeper rusty gold.
(the paint cans are in the cellar - forgot to write the name down
cellar stairway collapsed! - Old House!)

I painted the Bee Pollen as the base and did a light
back and forth stroking over the cracks in the walls
with the rusty color. 


I even created the illusion of more cracks. Then I did a light
wash over it all with the Sunwashed color.
This treatment and color have made a very good backdrop 
for my ever changing pallate of colors in decorating the

Master Bedroom


I love to change things up for the season.


Sunday, April 10, 2011

A Home Tour

Posted by MAKMU ta On Sunday, April 10, 2011

I am so excited to have a lot of new readers, so I thought I would take you all on a little tour of our home.  So far, I have shown you most of the rooms in our house, but I'm holding out on showing you our third floor (playroom and guest room) because I still need to finish up some projects up there.  It won't be long.

Let's get going.  I'll start with the front of the house.  Be sure to check out the before pictures here.


Come on into the foyer.  Before pictures here. 


Off the foyer is the new and improved powder room. Before pictures here.


To the right of the foyer is the casual living room. This room has come a long way. Check out the before pictures here. 


Just off the living room is the office/den.  This room has become one of our favorite hang out spots.  See before pictures here.


These built-ins were already here, we just revamped them a bit.


Through the foyer, in the heart of the home, is the kitchen and dining room.  These two rooms got complete makeovers. See before pictures here.  


More before pictures here. 


Off the kitchen is the mudroom and pantry.  This room was previously a sun porch on the end of the house.


Having this space helps keep our family organized.


The pantry is a huge help with storage.


Just off the kitchen/dining room is the gathering place, our family room.  Before pictures here. 


The fireplace got a facelift as well.


This ceiling is one of my favorite features in our home. 


We spend a lot of time in this room, specifically gathered around this table, playing games, coloring, eating popcorn and building legos.


Now, let's head upstairs.

This is the master bedroom.  Before pictures here.


Down a little hall in the master bedroom is the master bathroom which was previously a small bedroom.  Before pictures here.


My daughter's room is across the hall.  It was formerly the master bedroom.  Before pictures here.


A small, but full bathroom is located off her bedroom. Before pictures here.


My boys' room is just down the hall.  It has quite a story behind it.  You can read all about it here.


Right next to their bedroom is bathroom they share.  Before pictures here. 


Hope you enjoyed the tour.  I am linking up to Poppies at Play Parade of Homes Party today.  Go on over and check out all the lovely homes.

Also, check back Monday night for my very first giveaway! I'll have all the details for you then.

Saturday, August 7, 2010

Repairing of hgtv dream home

Posted by MAKMU ta On Saturday, August 07, 2010

Repairing of hgtv dream home

The popularity of the HGTV dream home is increasing and showed a remarkable improvement in the zone of interior decoration. It improves the over all appearance of the person. The concept of HGTV dream home commences in 1975. Real estate sector also boom that helps in making the home more attractive and appealing. Redecoration of house also becomes easier due to the advancement made in the technology.

Hgtv Dream House: Dream House

Remodeling revolution of the homeowners shows an impetus improvement in the decoration of HGTV dream house 2010 that gives a new edge to the advancement made in the technology. The home improvement in the context of the HGTV dream home includes correction of the leaky proof, replacement of windows helps in the beautification of home. Updating of the look of the kitchen and remodeling of master bedroom is all the part of the HGTV dream home.

Hgtv Dream House: Idea for your Dream House

Some of the people consider the work of the repairing of the home as creative outlet. The painting and redesigning considered as the most efficient and effective way for decorating the house. Repairing of the HGTV dream home helps in improving the living space of the home to make it look designer and classy.

Hgtv Dream House: Dream House from Wood

The HGTV dream home is one of the largest contributors gaining popularity all over the world because of the advancement made in the technology. there are more than 89 million households rely on the designs and style of HGTV dream home to give a new shape to their life that matches perfectly with the latest fashion trend.

Related Posts Plugin for WordPress, Blogger...